
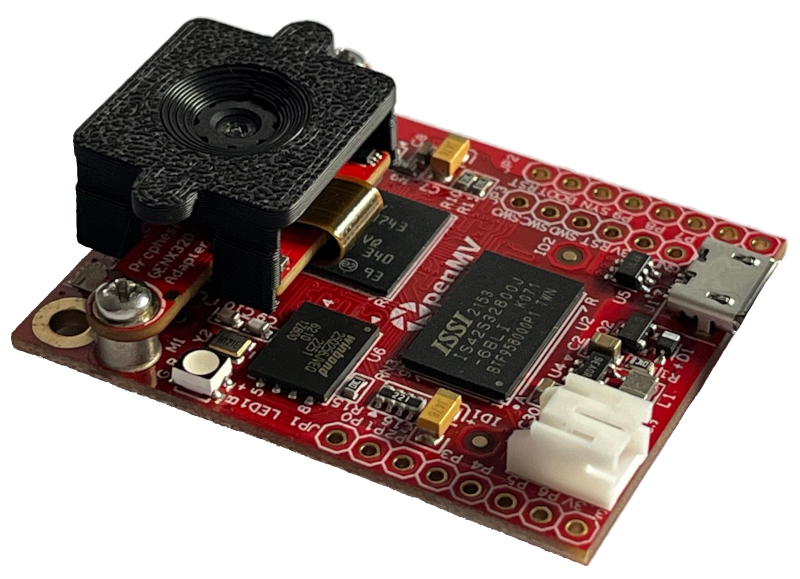
OpenMV Cam
OpenMV provides a compact, Python-powered, machine vision embedded platform that is now compatible with Prophesee GenX320 sensor.
An adapter board for GenX320 CM2 module is compatible with OpenMV Cam RT1062 and OpenMV Cam H7 Plus.
The sensor is configured to stream event histograms in Diff3D format generated by accumulating Contrast Detection (CD) pixels events over a chosen “integration/accumulation period”. These histograms are formatted as 2D images with a resolution of 320×320 pixels, each represented as 8-bit values.
The event histograms built on-sensor are transmitted via a low-power and low latency CMOS Parallel Interface (CPI).
Key Features
Cameras based on STM32 H7 Plus and NXP RT1062 microcontrollers * Max event histogram rate on STM32 H7 Plus is 375 fps * Max event histogram rate on NXP RT1062 is 180 fps
OpenMV IDE allowing an easy application development using machine vision library
Streams event histograms natively from the sensor
Includes a set of machine learning and image processing algorithms and examples
Python-powered
Small form factor camera expandable via shield add-ons
SW: Open-source driver and examples (but does not support Metavision SDK)
Supported Sensors
GenX320 CM2 module
To get more information including the GenX320 sensor datasheet, product brief or a quote, contact us.
Supported sensor features
Sensor Biases and presets can be set via IOCTL settings
Low Power Mode allowing to reduce consumption whilst maintaining quick wake-up based on scene dynamics
Further sensor features can be configured by writing/reading registers (note that the read/write command accepts 16-bit values only)
Getting Started
Install OpenMV IDE
Plug the camera to USB port on your PC
Start OpenMV IDE, connect to the camera and “Install the latest development release”
Run ready-to-use examples for GenX320
Minimal example showing how to acquire data (event histograms) from the sensor and print the output histogram rate:
import sensor
import time

sensor.reset() # Initializes the sensor.
sensor.set_pixformat(sensor.GRAYSCALE) # Must always be grayscale.
sensor.set_framesize(sensor.B320X320) # Must always be 320x320.
sensor.set_framerate(100)

clock = time.clock()

while True:
    clock.tick()
    img = sensor.snapshot()
    print(clock.fps())
Example showing how to track LEDs (and apply a preset of sensor biases tuned for seeing only LEDs):
import sensor
import time

sensor.reset()
sensor.set_pixformat(sensor.GRAYSCALE) # Must always be grayscale.
sensor.set_framesize(sensor.B320X320) # Must always be 320x320.
sensor.set_framerate(200)
sensor.ioctl(sensor.IOCTL_GENX320_SET_BIASES, sensor.GENX320_BIASES_ACTIVE_MARKER) # Applies sensor biases for seeing LEDs only

clock = time.clock()

while True:
    clock.tick()
    img = sensor.snapshot()

    blobs = img.find_blobs(
        [(120, 140)], invert=True, pixels_threshold=2, area_threshold=4, merge=True
    )

    for blob in blobs:
        img.draw_rectangle(blob.rect(), color=(255, 255, 255))
        img.draw_cross(blob.cx(), blob.cy(), color=(0, 0, 0))

    print(clock.fps())
Example showing how to tune individual biases one by one:
import sensor
import time

sensor.reset()
sensor.set_pixformat(sensor.GRAYSCALE) # Must always be grayscale.
sensor.set_framesize(sensor.B320X320) # Must always be 320x320.
sensor.set_framerate(400)

sensor.ioctl(sensor.IOCTL_GENX320_SET_BIAS, sensor.GENX320_BIAS_DIFF_OFF, 28)
sensor.ioctl(sensor.IOCTL_GENX320_SET_BIAS, sensor.GENX320_BIAS_DIFF_ON, 25)
sensor.ioctl(sensor.IOCTL_GENX320_SET_BIAS, sensor.GENX320_BIAS_FO, 34)
sensor.ioctl(sensor.IOCTL_GENX320_SET_BIAS, sensor.GENX320_BIAS_HPF, 40)
sensor.ioctl(sensor.IOCTL_GENX320_SET_BIAS, sensor.GENX320_BIAS_REFR, 10)

clock = time.clock()

while True:
    clock.tick()

    img = sensor.snapshot()

    print(clock.fps())
To buy an OpenMV platform with an adapter module for GenX320, contact OpenMV.